According to statistics, thousands of emails are sent and received every day. If you are engaged in some sales activities, the amount of your email turnover may exceed 500 emails a day. A professional email signature is a feature, which can separate your data from the overall mass of electronic mails. You may choose a template of email signatures, or create it by yourself.
Elements of Gmail Email Signature
Before you learn – how to make a signature in Gmail. Take a look at the elements of a professional Gmail signature.
1. Brand Logo
It is not important whether you are the owner or an ordinary employee of the company. The logo of this company should be included in your signature in order to highlight your activities and professional intentions.
2. Simplicity
It should be taken into account that the signature of the email is a short introduction of your professional personality. Avoid adding too much information to your signature, because it may spoil a recipient’s attitude. It is recommended to highlight the most essential and useful data.
3. Cross-device Support
The modern times require the readability of your signature on smartphones, laptops, tablets, and other possible gadgets. Therefore, keep in mind to adapt your email signature for smaller screens.
4. No Large Images
If you want to attach an image (the company’s logo, your photo, etc.), make sure it makes no difficulties in downloading your email. The image is not the most important thing in your signature. Therefore the low resolution will be quite enough. Here is complete information about important things to consider when creating an email signature.
How to Make a Signature in Gmail?
In theory, we know how to compose an email signature. Now, it is time to put into practice. Fortunately, we have a Google service, which enables us to create an email signature fast and without any troubles. Therefore, if you still do not have a Gmail account, you need to register it.
1. Add a Signature
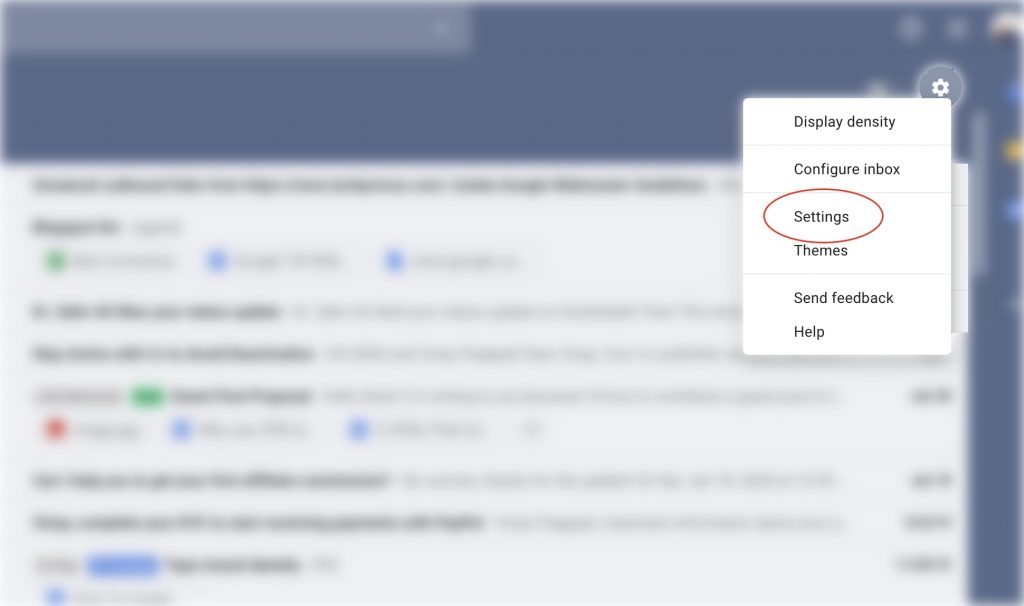
– Signed into your Gmail account. Click on the “Gear” button. – Then click on the “Settings” line.
– At the bottom of the window, you will find the “Signature” field.
2. Personal Data
Now, you need to type the text of your signature. This information may include – a name, contact details (phone, fax, email, cell phone, etc.), link to a website, position or title, the name of the company, and other data, which, in your opinion, can be useful.
3. Signature Format
This stage relates to the design of your email signature. You may play with colors, fonts, and size of the text. Nevertheless, your signature should be too mixed, and the text should be readable. Highlight the most valuable information, such as your name or company’s name.
4. Links
The link to your website or the website of your company will be active, so do not miss the opportunity to add it. TO do this, you need to select the text, click on the “Link” button, and enter the URL. Also, you may add links to your social profiles, but keep in mind that a signature with four lines and more is not very attractive to the leads.
5. Image
If you want to add a photo of you, avoid photos made during your leisure activities. An email signature should reflect your professionalism, so keep in line with this requirement. The adding image procedure is simple. Click on the “Add Image” button (it resembles two mountains). You may either enter a link to the image or upload it. Then adjust the alignment and size of the image. Now your professional email signature is created. Save the changes to the page and experience the benefits of your signature. Don’t miss our ultimate tips for creating a professional email signature.


