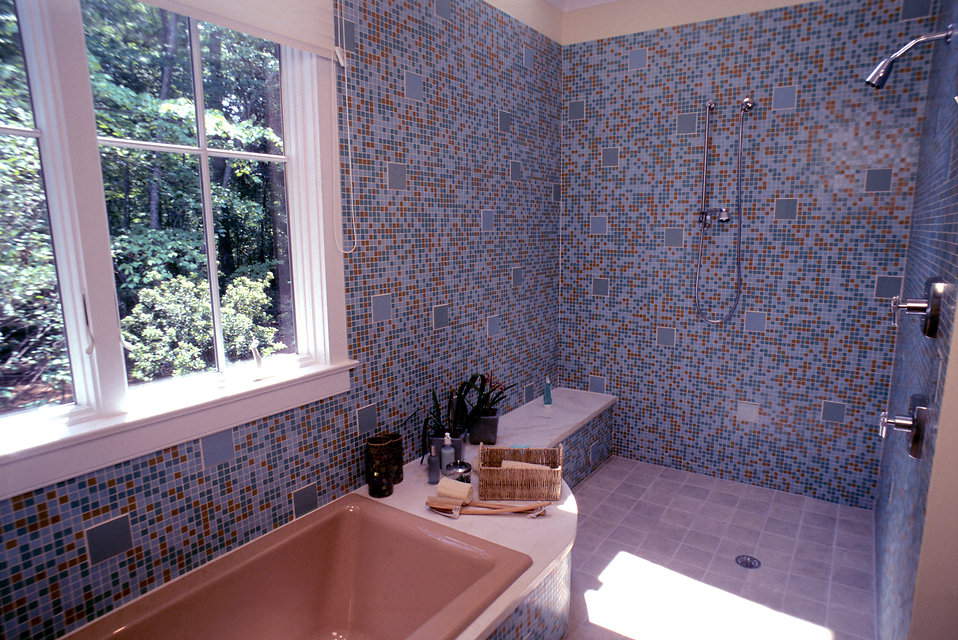
How to Install A Handheld Showerhead?
Installing a handheld showerhead is a relatively easy job and only requires basic plumbing tools and accessories. An adjustable showerhead can come handy in a variety of instances, including when you want to bathe small children, bathe an aching area with hot water or rinse down the shower after use. Some even have massaging features attached to it. The handheld showerhead is one of life’s little luxuries that can make your showers more enjoyable.
Installing a handheld showerhead is not tricky. You will be able to get it done in a few minutes if you have the right tools and assembly parts. Here we give you a step-by-step tutorial as to how you can upgrade your shower and give it a luxury touch by installing an adjustable shower head.
Get the Right Product
There are several products out there in the market, but ensure you choose one that meets your needs and requirements. If you are installing an adjustable fixture in place of your old showerhead, then you can pretty much wrap up the job in under half an hour. Water-saving low-flow showerheads are an option you can consider when investing in shower systems. You can also consider battery-less digital flow meter to monitor water usage. They ensure energy and water-efficient usage, helping you do your bit for the environment as well as save a few energy dollars. Before you purchase the adjustable shower head, check the size of the opening at the end of the shower arm or supply elbow where you will fit the showerhead. They must be compatible, or else the showerhead may be a size too small or too big. You also need to decide whether you will fit the adjustable shower head in a slider bar. This will require more elaborate and time-consuming work, where you may be required to do inline plumbing or masonry modifications.
Get Started
The first thing you need to do is remove the existing shower head from the shower arm. You can do this using an adjustable wrench or pliers. If you plan to reuse the showerhead, wrap the ends of the wrench with a thick cloth or piece of leather or duct tape to prevent scratches on the surface of the showerhead base. You have to be careful not to mar the finish of the showerhead. Adjust the wrench snugly and turn counter-clockwise to remove the fixture. Once this is done, clean the threads on the goose-neck of the supply elbow. There will be debris of old plumbing compounds or Teflon tapes after you have cleaned the thread wrap new Teflon tape around the area. You can do it in a clockwise direction for 4-5 turns using around 10 inches of the tape. Remember that most companies offer mounting brackets that have inbuilt washers that do away with the need to have Teflon tape on the thread of the shower arm. Check with your dealer or read the instructions manual and proceed accordingly.
Attach the Bracket
There are two ways in which you can attach the mounting bracket. Instance 1: The adjustable shower head will slide into a handheld showerhead mounting bracket. This bracket needs to be attached to the shower arm. You can do the tightening with your hand, and there is no need to use a wrench. This is the simplest and easiest fixture to install. Instance 2: Mounting brackets can also be attached to the wall at a suitable height. In such fixtures, the showerhead will slide into the wall-mounted bracket. You will have to mark a spot that is more or less at the center of the wall (breadthwise) in the shower area to attach the mounting bracket. The appropriate location will depend on the size of the showerhead, the height of the ceiling, and the height of the people who will be using the shower. When you are not using the showerhead as a handheld fixture, it can be used in the fixed mounting location. The versatility of the handheld showerhead is one of the reasons why it scores above the fixed option.
Screw-in the Shower Head
Instance 1: After you have screwed in the mounting bracket into the goose-neck of the shower arm, you will have to attach the bolt-shaped side of the hosepipe to the downward-facing extension on the mounting bracket. The other end of the hosepipe will fit into the showerhead. Ensure the washers are in place at both ends of the hose pipe. The showerhead can now be slid into the mounting bracket, and your adjustable shower head is ready to use. Instance 2: After you have fixed the mounting bracket, you must attach the fitting end of the hose to connect the supply elbow or shower arm to the adjustable shower head. The showerhead can be used in a handheld manner or the mounted position.
Consider a Vertical Slide Bar
If you would like to use the showerhead in a slider bar, install one in the place of the wall mount. This allows you to adjust the height of the showerhead according to the users’ needs. There are other designs and ideas you can consider as well. The slider bar has a clip to hold the showerhead. It can also be moved to adjust to a tall, short, or seated shower user.
Conclusion
Showerheads come in as simple as well complex designs. You can either go for a single shower head or a shower system. Handheld showerheads provide a luxurious bathing experience and are economical as well. If you are planning to install a handheld showerhead, the above tips will surely help you.
