When there are numerous apps to setup VPNs with just one click, why would you want to set it up manually, you’d ask? Well, there are some reasons for that, first, if you are using a system that doesn’t allow a third-party app. Second, if you are remotely connecting to an office network. Third, if it’s just that you do not want to use any third-party app. For all these reasons you will have to manually add VPN profiles on your device.
What is a VPN?
VPN (Virtual Private Network) is a private network that works across public networks, in simple terms, a VPN connects your device through the internet by routing you through a server this help in increasing web security and privacy. VPN works as a private tunnel between your computer and the Internet which passes through a server, that server is located in some other country. No one even not your ISP can know about your surfing, whatever you are doing over the web is only up to you.
How VPN works?
The VPN service changes your IP address with the server (IP address of some other country, where the server is located), so when you visit any site using VPN your changed IP address is being received by that site, and which means you are in that country but in actual you are not. For example:- If you are in Russia and using a VPN service of the USA, so if you visit any site your IP address will tell your location somewhere in Russia.
Why VPN is necessary?
VPN (Virtual Private Network) is necessary to secure your online privacy. Isn’t it awkward if you get to know that someone is spying on you, whatever you do over the Internet is being tracked and recorded by someone, this is cheap and awful? But many of the leading organizations even our government, our ISPs keep an eye on us always. Nothing is secret in the world of the Internet. If you need to protect your privacy, so you should use a VPN service. How cheap it will be when you are using some platform over the Internet to consult with a doctor, you need to protect your privacy that’s why you used the Internet, but here also everything is been recorded. Similarly, we have various doubts which cannot be asked to anyone and we search them on the Internet but here people are spying on us, that’s why you need a VPN.
Benefits of Using a VPN
A VPN allows you to create a secure connection to another network over the internet. To explain it simply, VPN connects your device to a server (a computer) that might be somewhere on the internet. Once connected, it allows you to browse the internet using that computer’s internet. For example, if your VPN connects you to a server located in the US, it will appear as if you are coming from the US. Using a VPN helps to tackle a lot of problems. Here are some benefits of using a VPN:
Using a VPN, you can access the websites and OTT platforms that are banned in your region.VPN acts as a shield for your browsing activity when you are using public Wi-Fi.It gives you privacy by hiding your true location.You can also hide your browsing activity from your local network and ISP.If you travel and want to access your home network, you can do it by using a VPN.
There are a lot of other benefits too. In this article, we are going to show you how to manually add VPN profiles on any device. So, follow all the steps and methods to add VPN profiles on your device.
Manually Add VPN Profiles on Any Device
Pretty much all of the VPN services or your site administrator will provide you with all the necessary information like specific server, remote ID, username, password, and other important stuff. Once you have all of these details you can setup VPN profiles manually on any device.
Steps to Get VPN Profile Details from Service Provider
We are going to use Namecheap VPN for demonstration purposes, but these methods are applicable for every second service provider.
Open VPN provider’s dashboard by logging in into your account.
Then, navigate to VPN settings.
And then select your preferred server for VPN and note down the server details.
Now, note down the following details, it will be required in further steps:
UsernamePasswordServer Details (PPTP, in this guide)Type of Connection
Android
Step 1: Go to settings. Step 2: Now go to Network & internet, go to ‘Advanced’. Step 3: You will see the option named ‘VPN’, tap on it. Step 4: On the top-right corner, you will see a “+” option, tap on it. Step 5: Now you have to fill in all the details that your network administrator or VPN service provider has given you. By filling in all the details, you can create, or edit a VPN profile. Step 6: After filling all the necessary details, just tap on ‘SAVE’. To connect to a VPN, follow all the steps from steps 1-3 above and then simply tap the VPN profile that you want to connect to. If you want your VPN to be always on, you can make that happen, just tap on the gear icon next to the VPN and check on “Always-on VPN”. That’s it and you are all set!
Windows
Step 1: Open Windows settings. Step 2: Then navigate to Network & Internet. Step 3: Now, go to VPN tab from left section. Step 4: Click on ‘Add a VPN connection’. Step 5: In the ‘VPN provider’ section, select Windows(built-in) from the drop-down menu. Also, fill out the rest of the details that you have from your VPN service provider, once done, click on ‘Save’. Step 6: Now to connect to the VPN profile that you added, just click on the Wi-Fi icon on the system tray and select the VPN connection that you created. That’s it and you are all set!
iOS/iPadOS
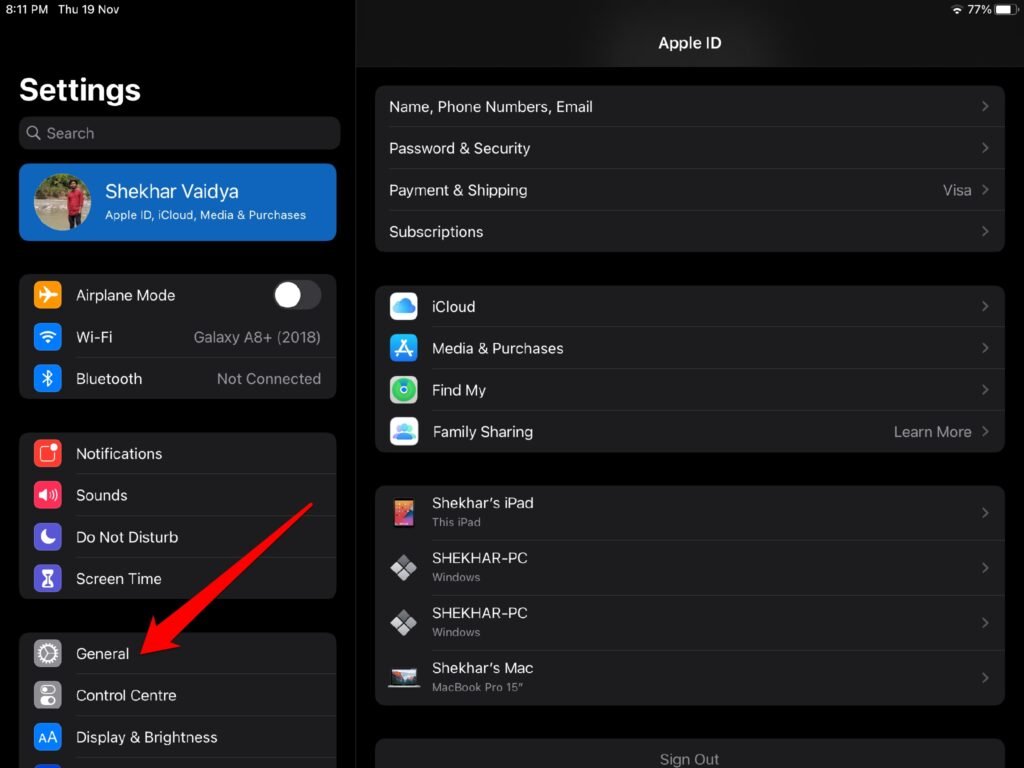
Step 1: Go to the Settings. Step 2: Tap on ‘General’, Step 3: Then tap on ‘VPN’. Step 4: Now tap on ‘Add VPN Configuration’. Step 5: Now add all the required information like VPN protocol, remote ID, server, login info. Once completed, tap on ‘Done’ to save the profile. Step 6: Go back to the VPN page, and now you can easily enable, or disable the VPN you made. That’s it and you are all set!
MacOS
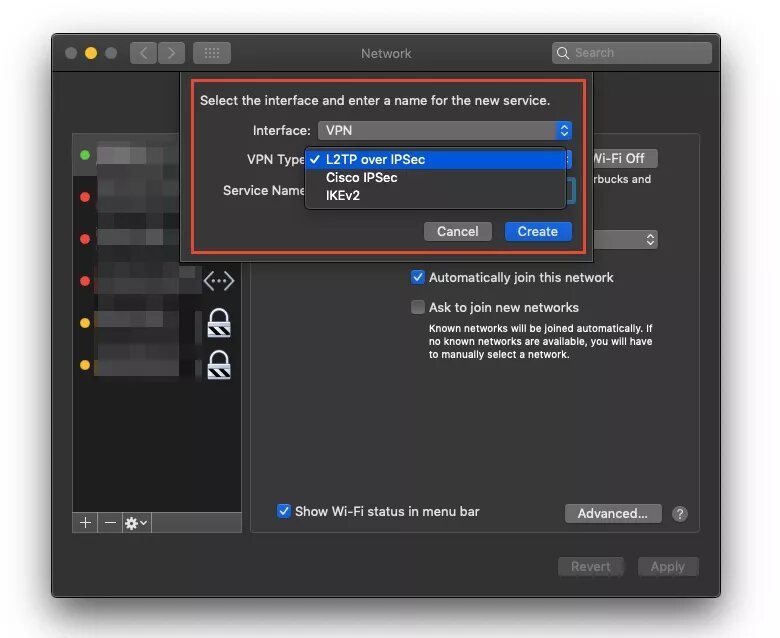
Step 1: Go to the Apple menu, by clicking on the Apple icon. Step 2: Go to ‘System Preferences’ and navigate to ‘Network’. Step 3: Click on the “+” icon on the left of the Network page. Step 4: Now an interface menu will pop up, click on that and choose ‘VPN’. Step 5: Now add all the details that your administrator have given you like VPN Type, VPN protocol, and other stuff. Once filled, Click on Apply and OK.. Step 6: Now to connect to the VPN profile, go to ‘System Preferences’, navigate to ‘Network’, click on the VPN service name, and click on ‘Connect’. That’s it and you are all set!
Linux
Step 1: Open ‘Activities’ overview and type, “Network”. Step 2: Click on ‘Network’. Step 3: At the bottom-left, you will find the “+” icon, click on it. From the interface list, select ‘VPN’. Step 4: Select the kind of VPN connection and fill in all the details. When you are done, click on ‘Add’. Step 5: To connect to the VPN profile you created, open the system menu from the right side of the top bar. Click on VPN and select ‘Connect’. That’s it and you are all set. So, these were all the steps and methods to manually add VPN profiles on any device. Do try these methods and let us know in the comments.